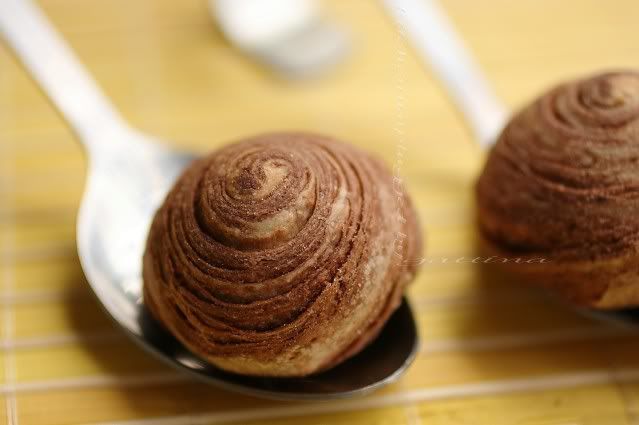
East meets West... this pastry combines an Asian pastry crust and a western filling. In Hongkong, the pastry usually comes with white crust (no chocolate added) and fills with sweet paste that made from lotus seed or azuki (tiny red) bean.
My American husband likes Asian food, still (but it's very usual), he can care less about the sweet paste that I've described. How to make the pastry more appealing to him? The thought about it led me replace the filling; as a result I decided on chocolate fudge.
The pastry crust is very flaky. Making it is much less complicated than that of European pastry. I think it should have deserved much more attention/priase worldwide because it is pretty, unique, delicious and easy!
Whole-heartedly thank to my old blogging buddy Angie, who first introduced this pastry to me. Although now she is inactive in blogging, I will always remember all the food she made :)
Recipe for the chocolate spiral pastry (crust only) (yield 16 pcs more or less, the size of a ping-pong ball)
The orginial recipe is from Chinese Pastries III at the blog of My Kitchen:My Laboratory Ingredients Dough A (white)- 100g flour
- 14 g powder sugar
- 40 g cold butter, cut into cubes
- 40 g water
- a tiny pinch of salt
Dough B (chocolate color)
- 90g flour
- 45 g oil
- 1 tablespoon white sugar
- 2 tablespoons of coco powder
- a tiny pinch of salt
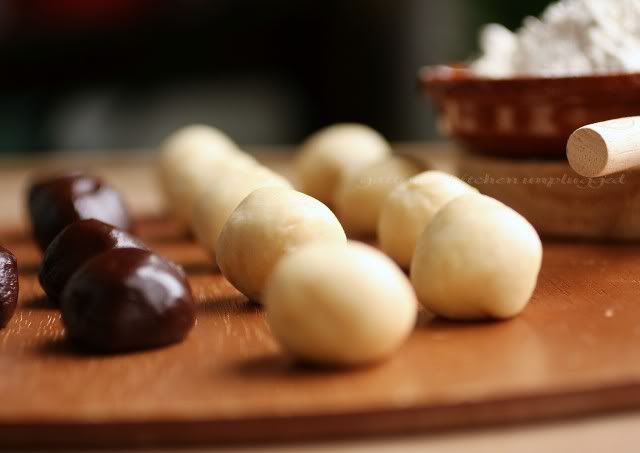
For Dough A, well combine the flour, the salt and powder sugar. Drop in butter cubes and further cut them by a pastry blender until you got the texture similar to very coarse cornmeal. Add water and form a dough. Divide it into smaller balls, each weight 20g.
For Dough B, well combine the flour, oil, sugar, coco powder and salt until a dough is formed. Divide it into smaller balls, each weight 15g.
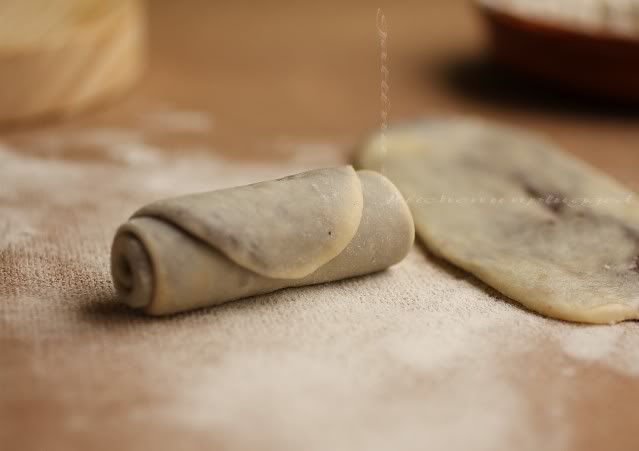
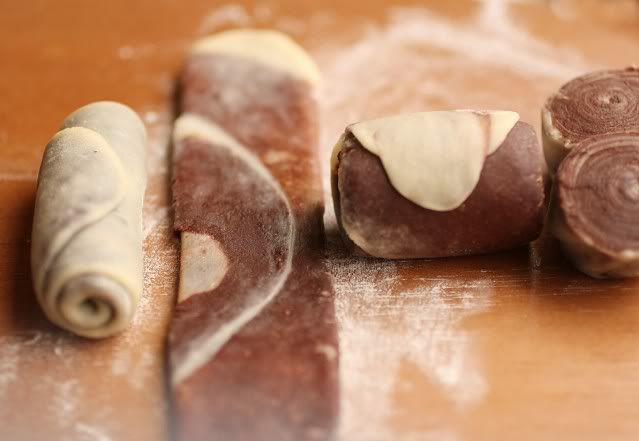
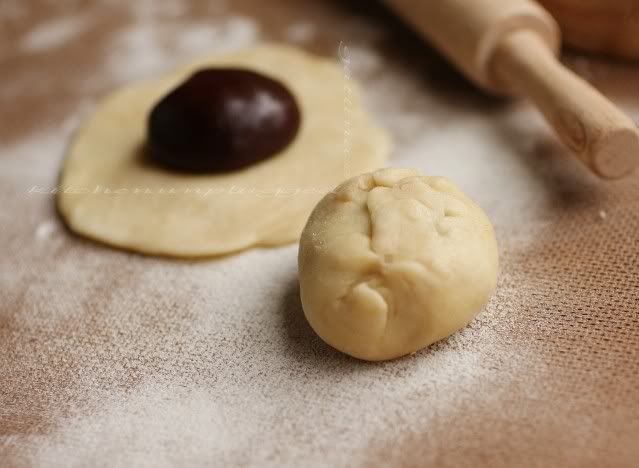 Roll the ball to be a rectangle with the thickness near 5mm. I rolled it too thin and broke some laminates, ended up a less puffy pastry :( Roll up the rectangle.
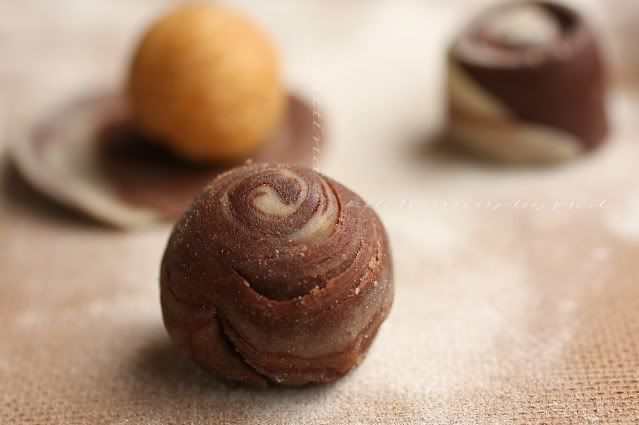
note from me: I was aiming for a rather chewy texture similar to brownie, instead of bombons, so you'd find flour in my recipe. I don't totally satisfy with the result, need to work on it again. But the followings are what I did.
- 1/3 cup flour (thinking of cut it down further)
- 1 1/2 tablespoons coco powder
- 1/8 tsp baking soda
- a tiny pinch of salt
- 6 oz good chocolate (I like milk chocolate instead of semi-sweet), finely chopped
- 3 tablespoons light corn syrup
- 1 egg yolk
- In a mixing bowl, whisk to combine the flour, coco powder, baking soda, salt. Set aside.
- Slowly melt the chocolate over a double-boiler. Once it turns smooth, remove from the heat, combine with corn syrup and the yolk (feel the temp of the chocolate which shouldn't be too warm). Then well-combine with the flour mixture.
- Chill the fudge in fridge until it sets, scoop up a spoonful and roll into a ball.
 -----------------------------------------------------------------------------------------------------------------------------------

18 comments:
Lovely!
And well explained. I might try to make them :)
Stunning and so pretty! A wonderful recipe!
Cheesr,
Rosa
I have never had this looks so so beautiful.
Wow, how marvelous!! Oh what a lovely lovely mouth full!
Those are so delicious! :)
Those are really cute and they look delicious! I might have to try them someday.
These look so good, I like the idea of fudge with the bean paste/pandan! Your hubby is a lucky guy-
Beautiful! Pictures are very attractive. If you say it's easy, I've to try. But when?
Beautiful creation. How could anyone resist!
Gattina, my dear, these are so precious! I love the sort of layered marbled effect. And the step by step photos are very useful, too!
xx
Oh my, it looks beautiful!
As always, your creations are beautiful and looks delicious.
KiKi
Just very very beautiful. thanks for the step by step pictures, & flying the flag for your friend Angie. This is what warms me up to blogging. awesome post!
I have nothing intelligent to say. I am just sitting here with a broad smile on my face :)
I am lost half way reading the post. What a complicated process! How I wish I were just next to you watching the dough-making process. But I just can't resist the temptation to grab a bite. They are my favourite!
Gorgeous, I loved it!
Cheers,
C.
You are so professional, you can be a patisserie or pastry chef!!! You should publish your own cookbook :)
Oh G, these look so awesome. If you ever drop by in Singapore, please do buzz me. I need to invite you to my kitchen for a demo. hahaha and follow by tea of course.
Post a Comment